We’re thrilled to feature a guest article by Shapelab Ambassador Ben Fauber, the artist behind Prism Prints. Known for his imaginative creatures and eye-catching miniatures, Ben shares his unique approach to adding special effects in 3D modeling, from sculpting fire and water to enhancing motion and atmosphere. These techniques don’t just improve visual impact; they also solve real-world challenges in 3D printing, like model stability and support. Whether you’re creating game pieces, collectibles, or display models, this article is packed with inspiration and practical guidance.
Kraken attacking a Viking ship by Prism Prints
Adding special effects to your model is a great way to push your creativity, and inject a lot of interest into a piece. However, figuring out how to sculpt something more nebulous isn’t always the easiest thing to do. In this article, I want to share how I tackle special effects in my sculpts, and offer some ideas that will help you add some extra flare to your next model.
Where do I start?
Special effects can range from fire to water, sparkles to mist, and everything in between. Since these effects do not have a definitive form, it can be challenging to figure out where to start sculpting them. In this article, I will share some ideas that might help you find a starting point.
Watch animation, freeze frames, smear frames
Seeing how other artists depict special effects can help guide the lines used in your sculpt. Looking at freeze frames and smear frames can be a good way to see the motion of the effect. In my opinion, the feeling of motion is very important when modeling special effects. If it seems too static, the effect might not read the way you want, and it may even take away from your final piece.
(source: silvermoon424.tumblr.com)
(source: x.com/denorelli2)
Take photos for reference
Use reference photos when trying to sculpt real-world elements, such as fire, water, and smoke. Looking at a photo of a flame next to a splash, you’ll immediately notice the differences in the lines that make them up. Some edges of the flame seem soft, while others are sharp. The flame may flicker up into points and jagged twists. The splash, on the other hand, has rounded, and very defined edges to the water. You can see ripples, and drops of water beginning to separate into beads. Focusing on details like these will help you achieve the look you are going for.
(source: pexels.com)
(source: pexels.com)
Reference miniatures and models
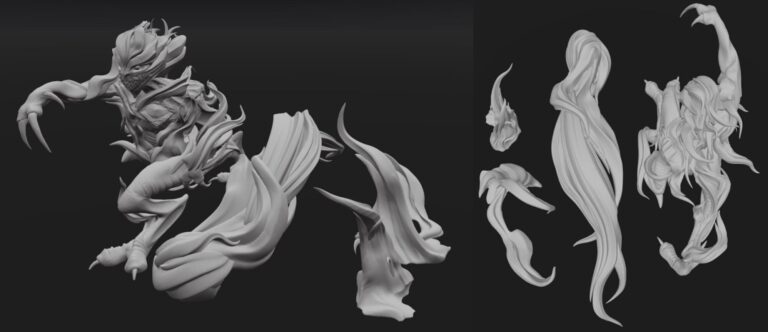
Companies like Games Workshop, Reaper Miniatures, and Privateer Press, among plenty of others, produce amazing figures. Referencing how they achieve special effects can spark an idea for your own model. For example, I really like how the line of Nighthaunt miniatures made by Games Workshop depict floating spirits. They’ll use environment, as well as special effects, to incorporate connection points while most of the model hovers above.
Warhammer Age of Sigmar Nighthaunt by Games Workshop design studio
Special effects don't just add interest, they can add support!
Adding special effects to model for stability
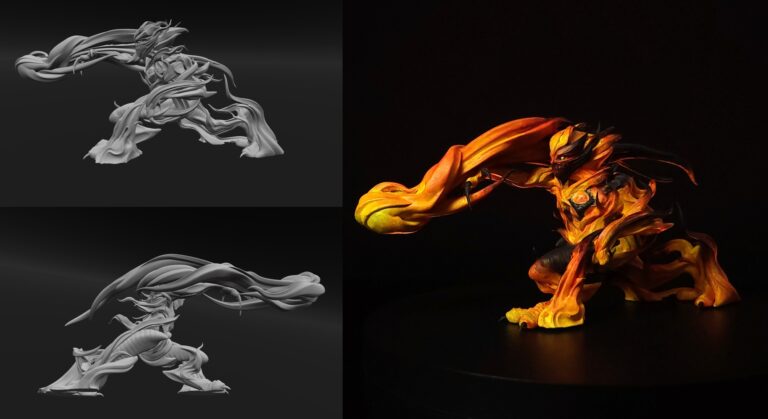
If you plan on 3D printing your model, and don’t want to just glue it to a round base, you are going to need to consider stability. Using special effects to add supports can also be a great way to add a lot of interest to your finished model. In this example, I sculpted my take on a Surtling from the video game Valheim. Since this creature is described as a “fire imp,” I chose to add flames around the feet to give a sturdier base to support the weight of the fireball.
Surtling fan art from Valheim by Prism Prints (valheingame.com)
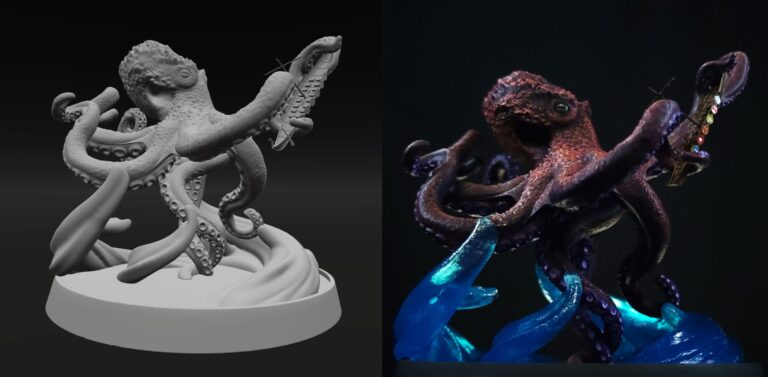
Adding special effects to the base for stability
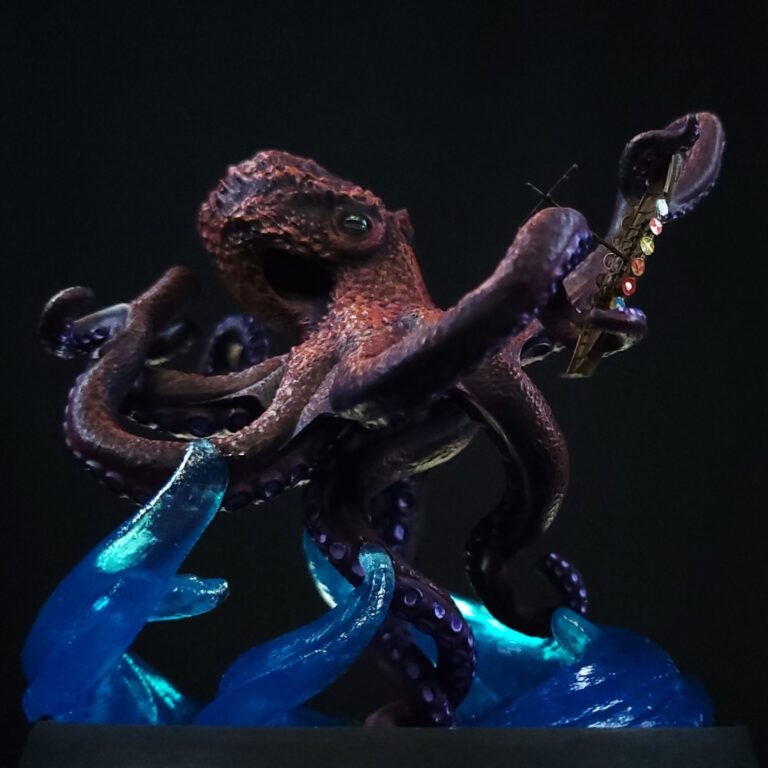
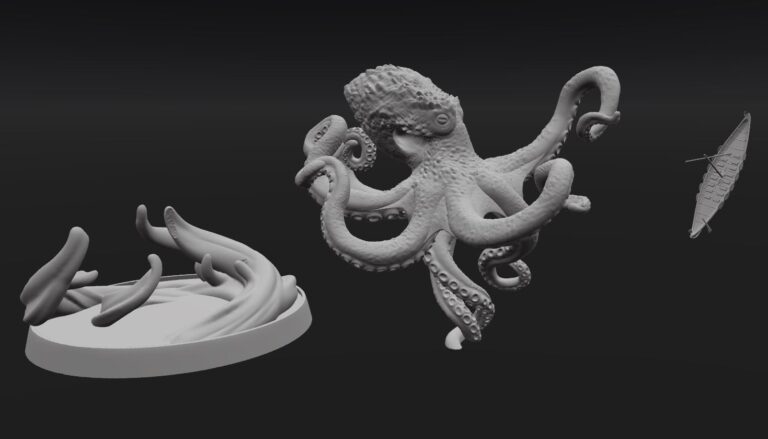
This is an alternative way to add interest and support through the addition of special effects. Sculpting the environment or effects onto the base for the model to sit nicely on might make more sense, depending on your project. I chose my sculpt of a Kraken as an example for this method. The pose of the Kraken meant it wouldn’t be able to stand on its own. So, I had to figure out a way to add more connection points without covering up too much of the work underneath. By adding waves in a swirling motion at a few places, I was able to establish enough connection points with the tentacles for stability. They also add visual interest, and give the eye lines to follow.
Kraken sculpt by Prism Prints
Think outside the box
Consider the color and transparency of your resin or filament
When printing with solid color resin or filament, you will need to use painting techniques to achieve the desired effect. This will take practice, but it’s a great skill to work on in this hobby! I tried this on my Surtling miniature from before.
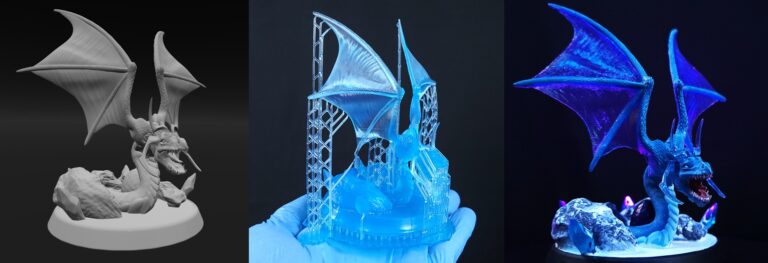
Using clear or clear colors for printing can be a simple way to add special effects. Printing in a clear blue is a nice way to simulate water or ice, whereas printing in clear can have a great wind effect.
As an example, printing the entire model of Mountain Drake from the video game Valhiem in clear blue allowed me to leave certain areas unpainted, giving the effect of ice, and some wild translucent wings!
Drake fan art from Valheim by Prism Prints (valheimgame.com)
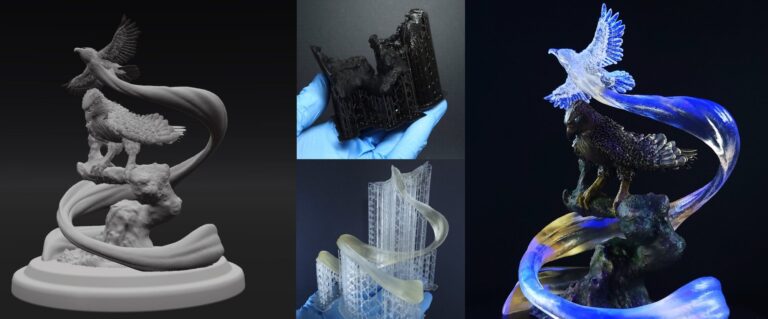
Another example is Vedrfolnir and The Eagle of Norse Mythology. I had the idea to make Vedrfolnir more of a spirit entity, and thought printing in clear would give it the exact ethereal feeling I wanted.
Vedrfolnir and The Eagle of Norse Mythology by Prism Prints
Tips, Tricks & Ideas
Curing drops of clear resin on the final model can give the effect of water drops.
Curing clear resin on areas of your model will give a shiny finish. I’ve also found just painting a layer of glossy Mod Podge on those areas is a nice and non-toxic substitute.
Some clear resin will glow under blacklight which can be a really fun effect. I noticed this with SUNLU clear standard resin.
A great reference for those painting techniques I was talking about earlier can be found on this link
Using mixed media! Wire can be used to create a lightning effect like this artist does here
Ben’s techniques bridge the gap between artistic vision and functional design in 3D printing. His tips are especially useful for artists and makers who want to push the limits of their 3D modeling projects with added effects and materials.